
How To DIY An Amber Jar Holder To Complement Your Autumn Home Decor
**This post contains affiliate links for your convenience. I may earn a small commission if you make a purchase from these links.**
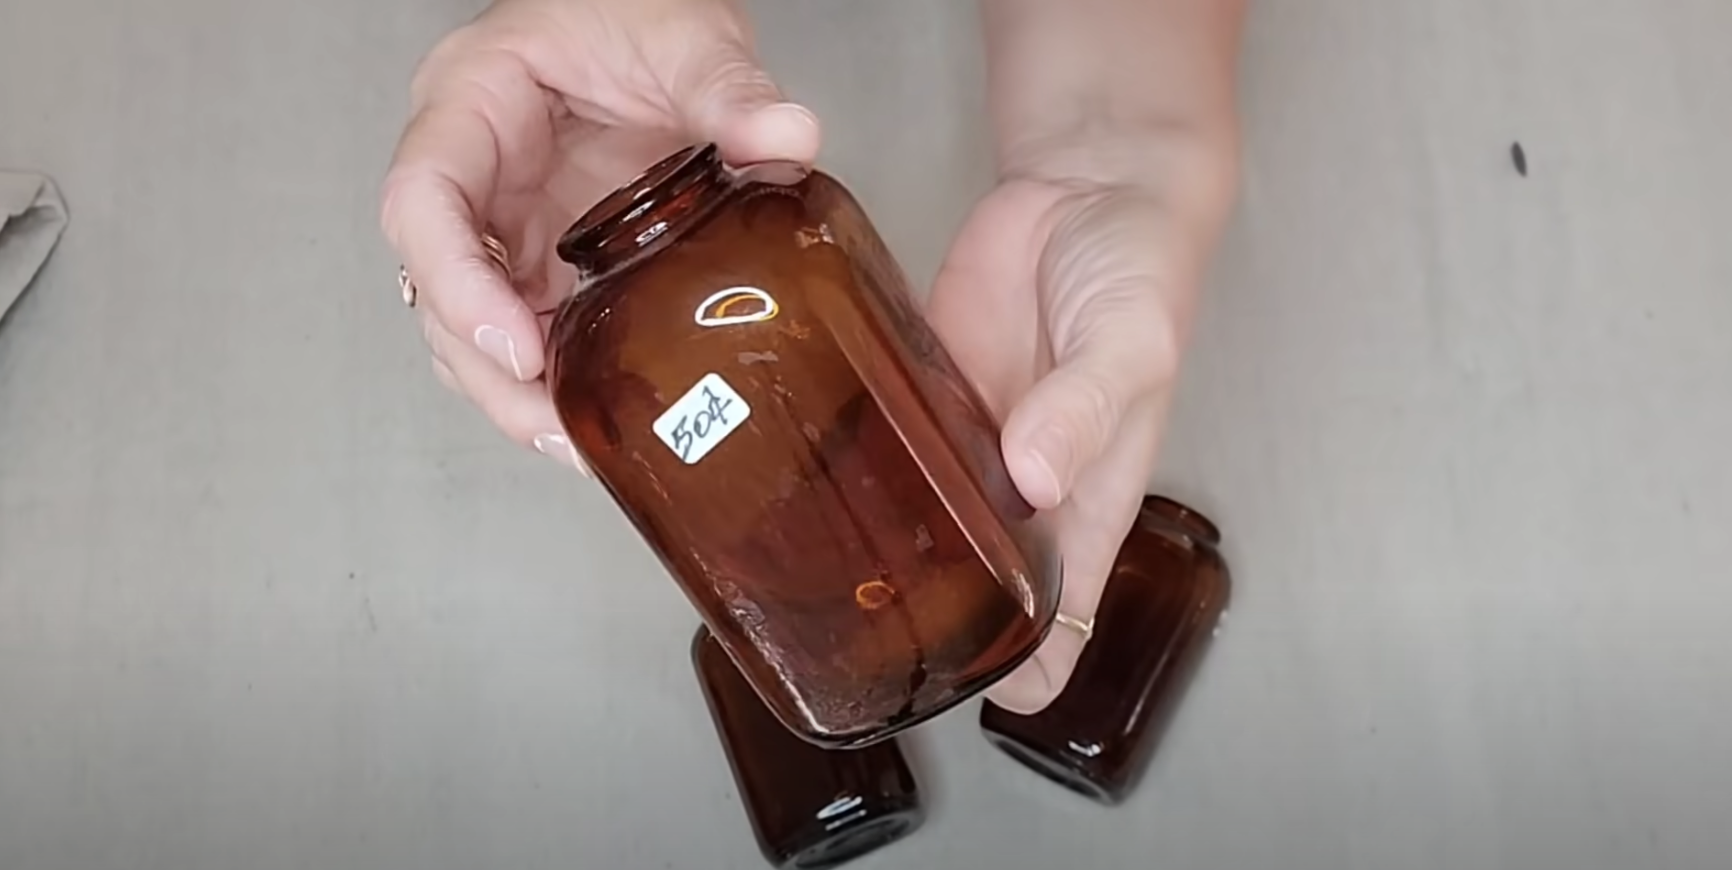
If you are an avid thrifter, I can confidently assume you have seen Amber Glass Jars!
What better way to welcome the beauty of fall into your home than by creating a DIY masterpiece that captures the beauty of the season? Picture a charming amber jar holder radiating a soft, golden glow as it graces your living space!
In this blog, I will show you How To DIY An Amber Jar Holder To Complement Your Autumn Home Decor!

Want to see more of my Fall Home Decor DIY videos? Watch Here
Below is a list of the items you will need to recreate this project:
Amber Glass Jars
(2) Small Branches From Your Yard
(1) Piece of Fence Board
Sandpaper
*Product can be purchased directly through my website [www.juliesdesignsandsigns.com]
I was able to thrift these Amber Glass Jars for $.50 each so I knew I wanted to upcycle them into something unique!
I wanted to make a carrier to hold them in so I used some items that I already had at my home.
I used a piece of fencing that I already had, and I laid out the amber glass jars to figure out how long I needed the jar holder to be.
Using a pencil, I marked how long and wide I wanted the base of the fencing piece to be.

I decided to put a branch on either side of the holder so I laid them out next to the jars to see how wide we needed to make the base of the holder.

Using a pencil, I mark the length and width that I want the jar holder to be.
Using my miter saw, I cut the fencing to the correct size.

I also used my miter saw to cut (2) pieces to fit the width of the base and about 2 inches high so that I could attach them to the sides.

I laid everything down in its position before I begin nailing to ensure that everything fit.
DIY TIP: Always measure twice, so you only have to cut once! :)

Using a Brad Nailer, I nailed one of the 2 inch wood pieces into the side of the base of the holder.

Then I flipped the holder over and nailed in the other piece to the other side.

Next, I measured the branches next to the holder.
Using my pencil, I marked where I needed to cut so that I could go to my miter saw and cut my branches to size.


Then, I placed a branch into its spot on the holder.

Using my Brad Nailer, I nailed the wood piece into the branch. Then I flipped the holder around and nailed it in the other side.
I repeated this process on the other side so that both branches were attached to the holder.
REMINDER: Watch your fingers when doing this!

White creates a striking visual contrast with the Amber Glass, which is why I opted for Dixie Belle Chalk Paint in the shade Cotton.
I used my STAALMEESTER Point Sash Brush to paint the entire holder.

Once I finished painting the holder, I used sandpaper to lightly distress the entire piece.

I love how simple and beautiful this Amber Glass Jar Holder looks.
The white paint provides a stunning backdrop that accentuates the autumn glow of the amber glass.
Feel free to personalize your glass jars with fall embellishments that resonate with your style. In my case, I filled the jars with fragments of dried floral sourced from Ikea, adding a touch of my own creative flair.

This blog is all about How To DIY An Amber Jar Holder To Complement Your Autumn Home Decor
As always, subscribe to my YouTube channel so you never miss one of my DIY videos.
You can watch me create this project and many others like it here: https://youtu.be/lJmnSpZ_Hok
Click the image to shop


What Is The Colors Of The Month Club?
Don’t forget to join the Colors of the Month Club to receive (4) sample Fusion Paint colors picked by me that are perfect for the current season! → Click here to learn more
Like what you see? Be sure to join our mailing list for weekly DIY Ideas, thrift flips, new product alerts, video announcements, live events & more!
DISCLAIMER: This blog post may contain affiliate links. If you purchase a product or service with the links provided I may receive a small commission. There is no additional cost to you. Thank you for supporting my blog so I can continue to provide you with free content each week!